Checkout Options
Customize your Checkout Process on Jumpseller.
This guide will show you how to use the new visual email editor which will allow users to edit their emails without any coding experience.
This is what you will see when opening the email editor. On the top left of the editor you will see the toolbar and on the top right you will see the hierarchy of the component that is selected. In its default state, the editor selects the highest element: the body.
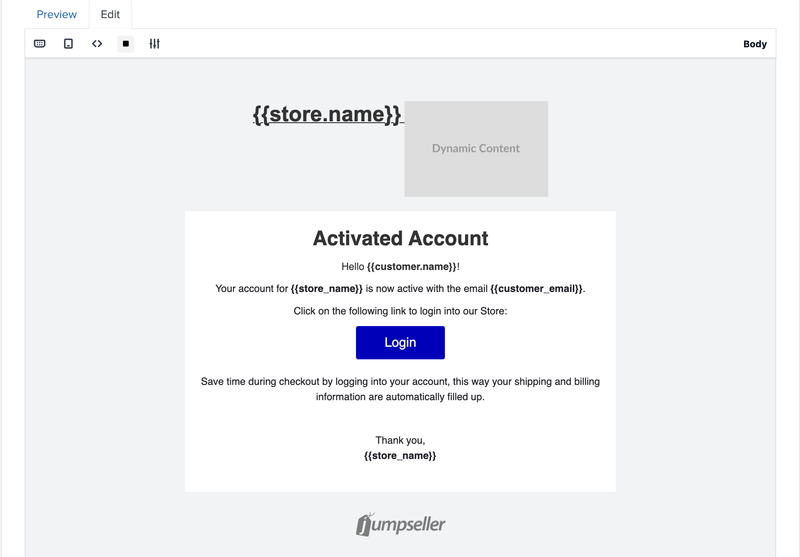
The main features enabled on the toolbar in this default state are the following (from left to right):

These options will vary according to the element that you may select. For example, if you select a button, the options available will adapt to the features you can change in a button such as: Background color, text color, borders, settings and dynamic variables (options from left to right).
Notice how the hierarchy is updated using breadcrumbs in the top right corner. You can select any element from the hierarchy by clicking them in the breadcrumbs and edit them as you wish.
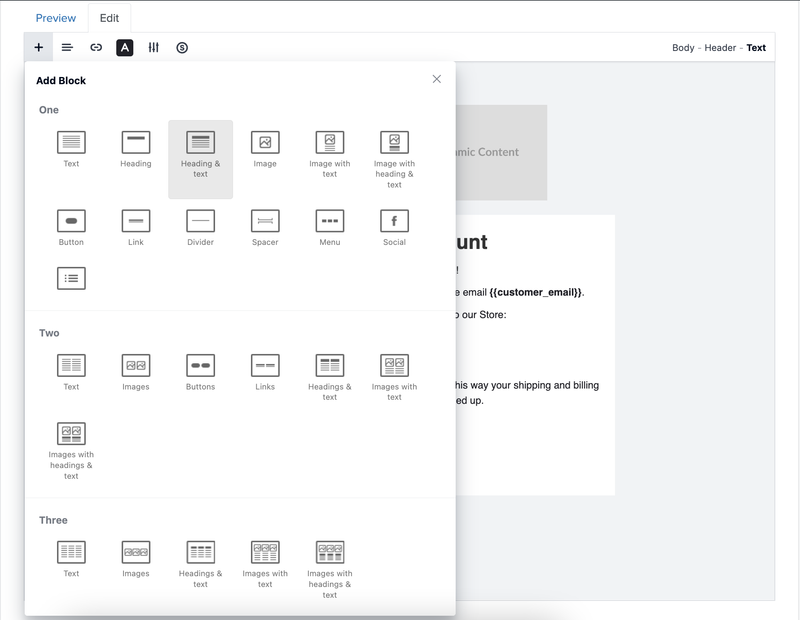
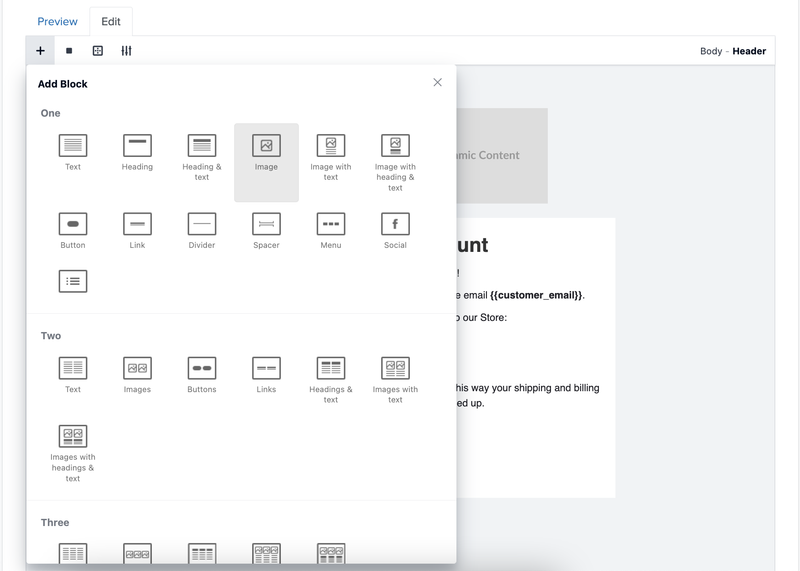
To add new elements you click the plus button on the left of the toolbar. This button will appear when you have selected any element in the editor (apart from the Body) and will show you this list of the available blocks you can add. The block you choose will be inserted below the element you had previously selected.
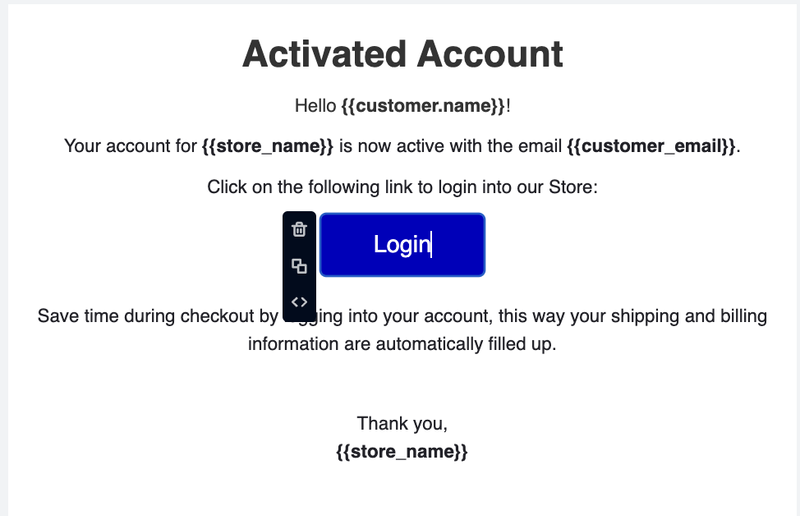
When you select an element three options will also appear next to it (from top to bottom):
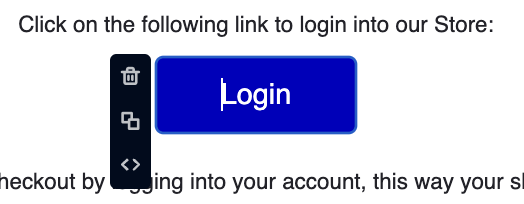
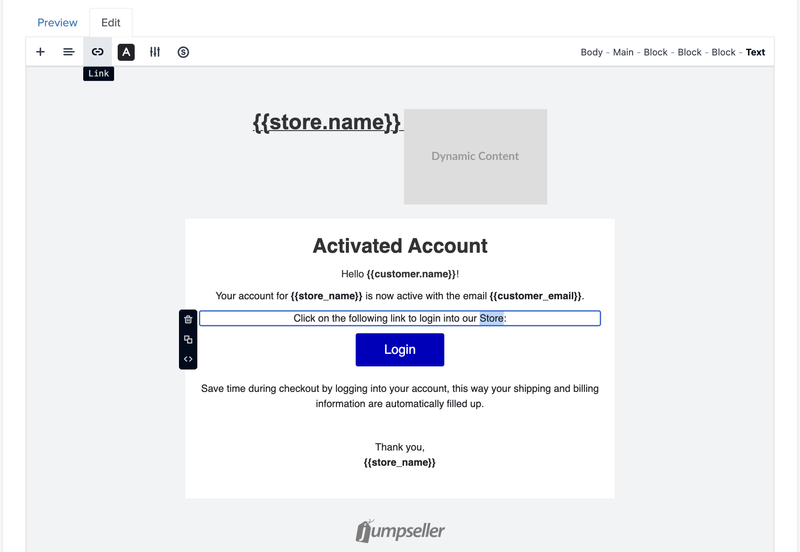
To add links first select a text element. In the toolbar you will see the icon selected in the image:
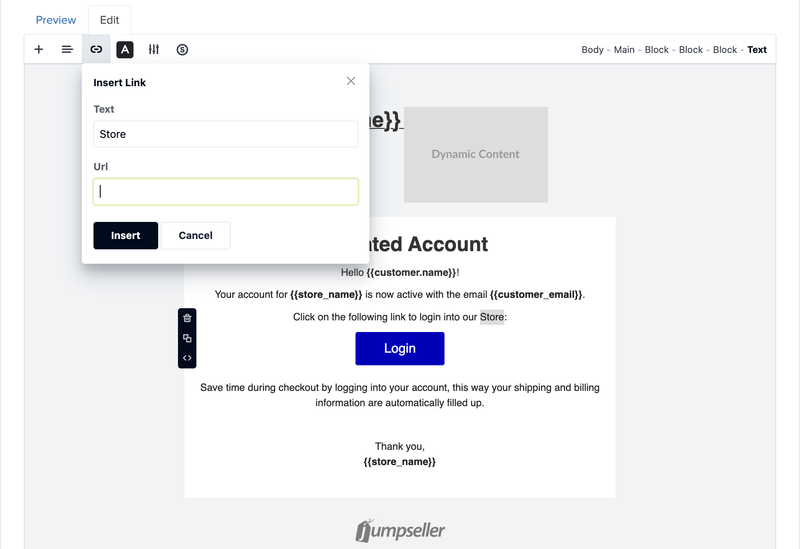
After clicking the icon, fill the fields with the url you want to link with the selected text:
To add images, first add any block that contains an image:
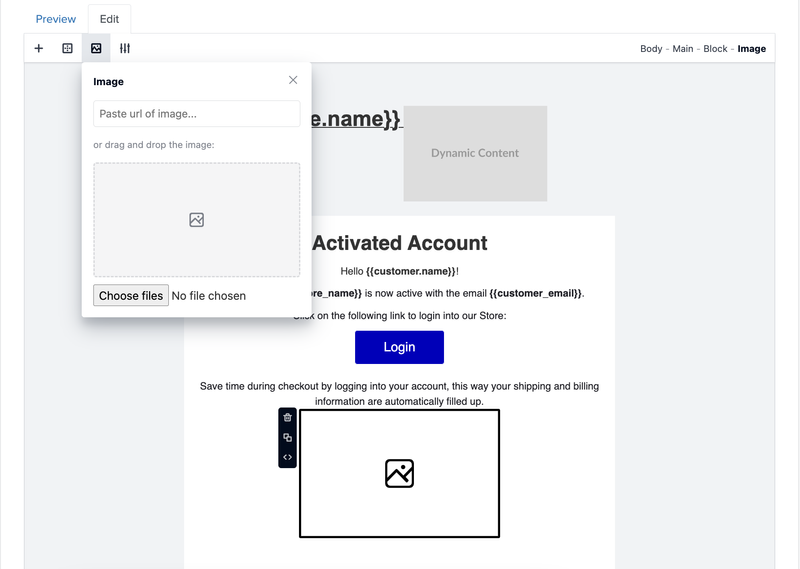
Select the element and then click on the image icon on the toolbar. Here you can add an image either by entering an url or by uploading from your computer:
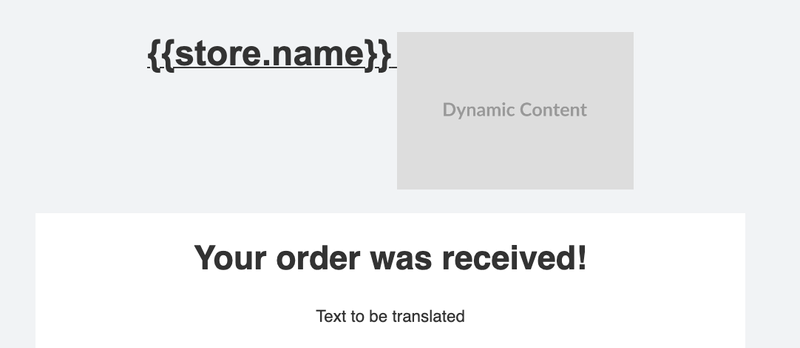
In some templates you will have blocks that are uneditable, such as this one:
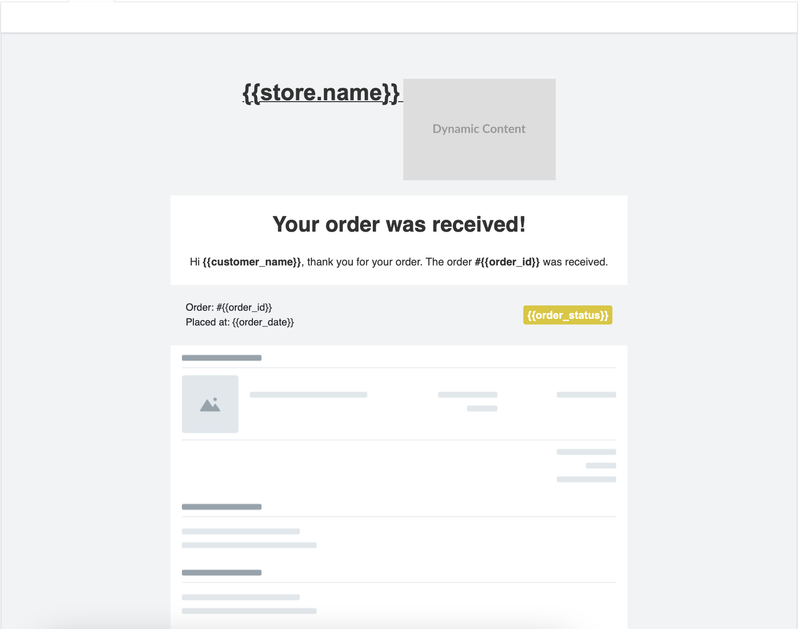
The image in the editor is merely a placeholder for its actual content (which can be seen in the preview).
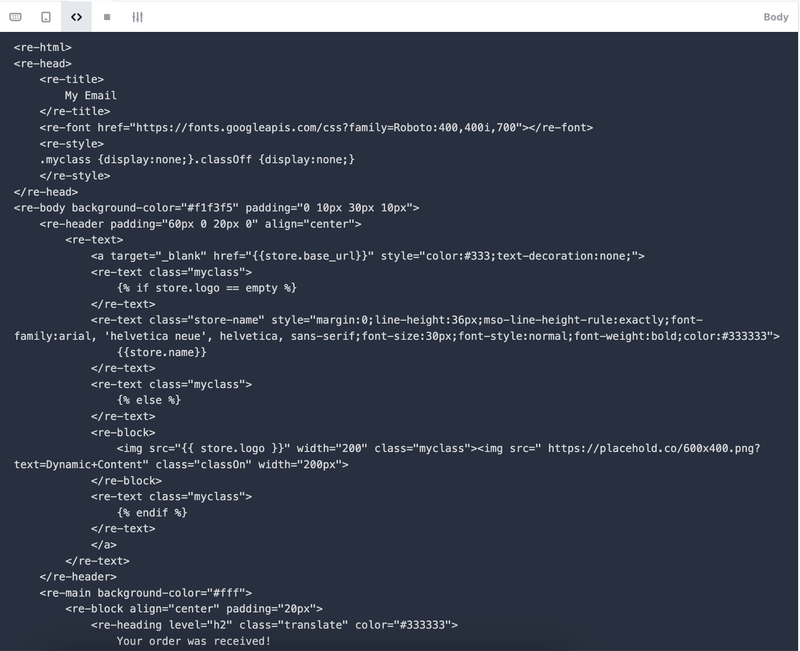
This block can still be selected, however you can only edit its source code. This can either be done by selecting the source code option in the element itself, or by editing the whole template source code using the option in the toolbar.
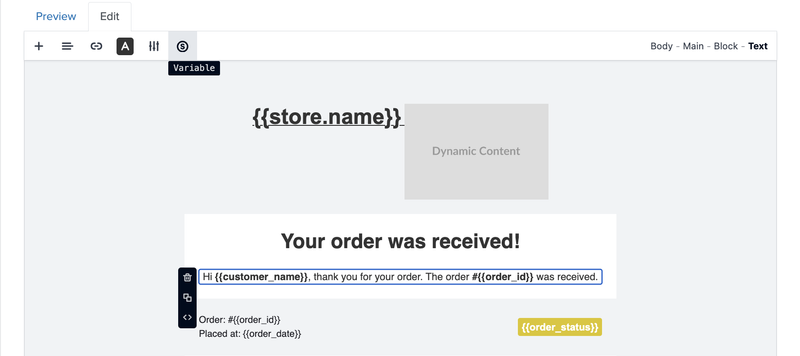
You can also add dynamic variables to your email. These are variables that will have different values in different stores and even different templates. You can add them by clicking on the selected symbol:
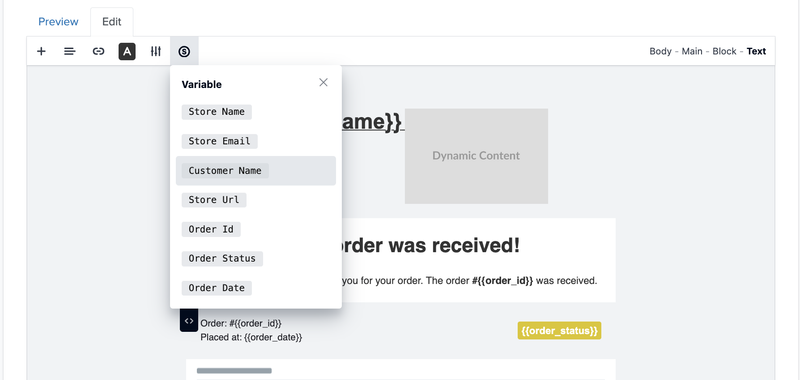
Here you will have a list of the many dynamic variables you can add:
Once you add them they will have a very specific syntax. In order for them to work correctly you cannot change this syntax, or they will not assume the desired value when previewing the email.
The text that is present in the templates and any text you add (that is saved) can also be translated.
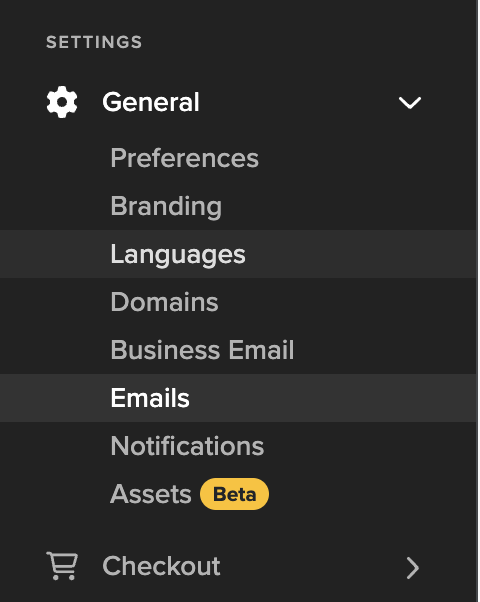
In order to do so, you have to go to Languages in the left menu:
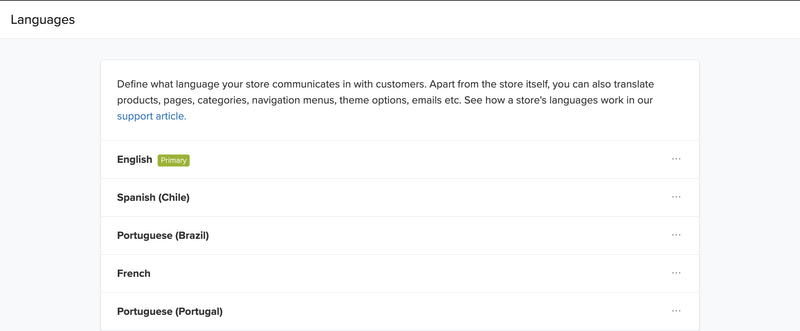
Here you choose the Language which you want to translate you template:
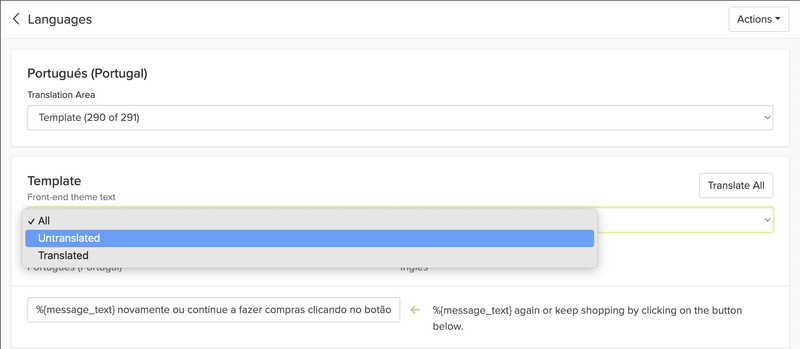
Then, to find more easily the text you wish to translate, select Emails and then Untranslated:
If you go back to your template and change the language on the url (in this case from en to pt), the translation will be available:

Start your free 7-day trial. No credit card required.