How to create a great website navigation experience.
Understanding the navigation options for your Jumpseller online store. Start by selecting a theme that best meets your business profile, and follow...
From your admin panel, navigate to General > Preferences from the left side menu.

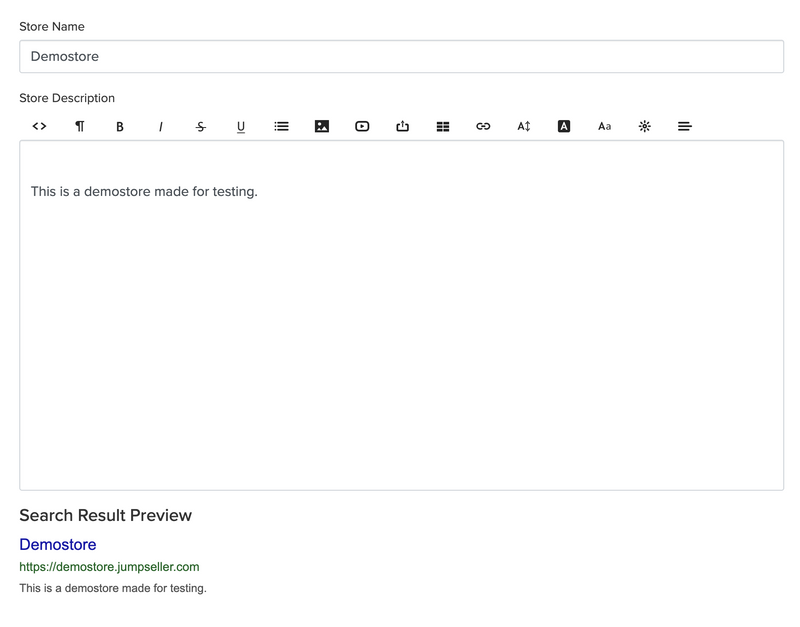
This section starts with some basic store info, like your Store Name and Description. The store name will be the one you used at the time of creation. You can change the name at any time. Use the description section to create an introduction to your store. This is important as it shows up on search results and also when a link to share your store. You can see a preview of how your store name and description will show up in searches. Lean more about SEO.
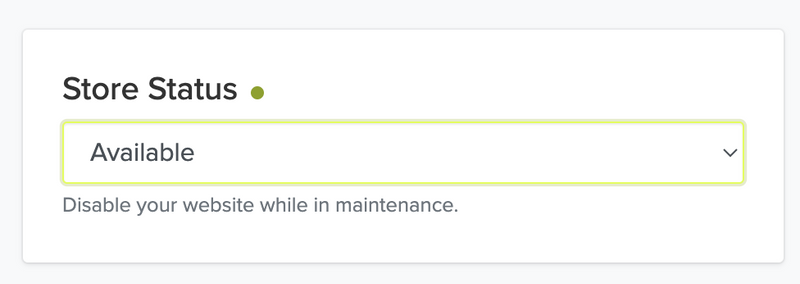
On the right side, you will see the Store Status section. For example, if your website is undergoing some changes or you are taking a break you can always disable your storefront at any time and set a custom message for your clients to come back later (please note that you will still be able to see the store while you are logged in to the admin panel).
While you are in the trial period, the store will not be available. However, you will be able to view your store (as a customer) by entering the password you set in the same field.
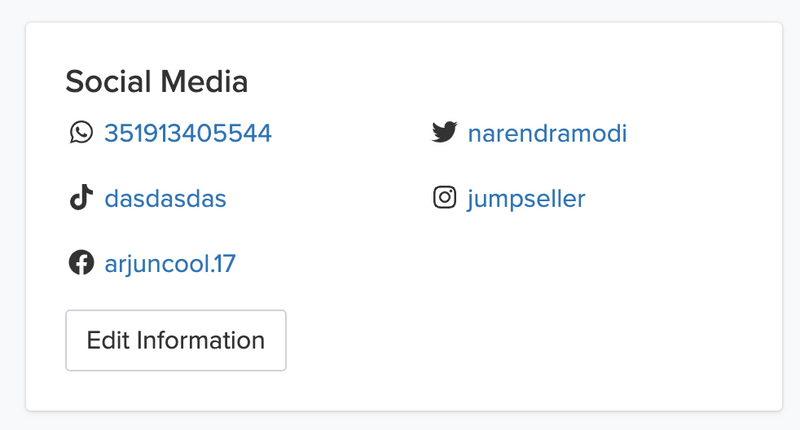
Just below the store status section, you have the social media hub. Click on Edit Information to add a link to your relevant social channels all from one place. You can even show your Instagram feed on your website.
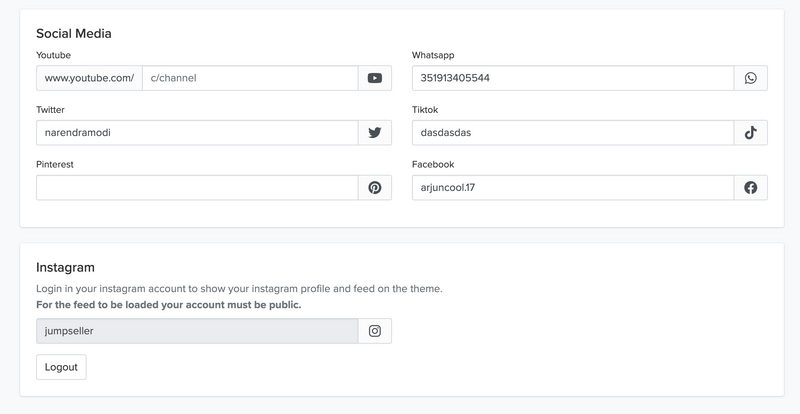
All themes have social media icons available where visitors to you stores can click and access your social media profiles. Use this section to show your desired social media channels.
Scroll down to come to the General Settings section, here you can set the Timezone, store country and unit of weight for your store.
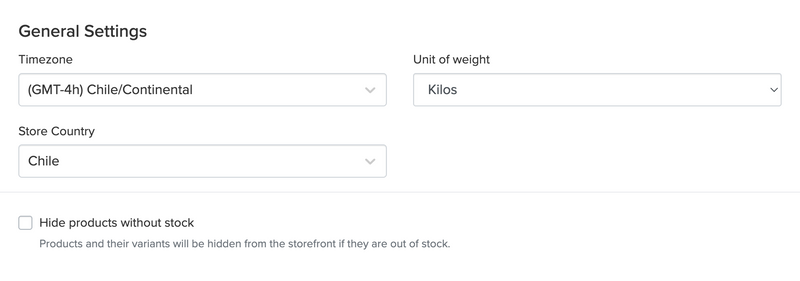
Timezone: The timezone is also set according to your location at the time of store creation but you have the option to change it here.
Unit of weight: You can choose the weight unit between pounds or kilograms.
You can also enable the Hide products without stock option here, for example, this can help you manage orders better.
Next, we have the analytics section, here you can link your store with various tools to gather data and get insights.
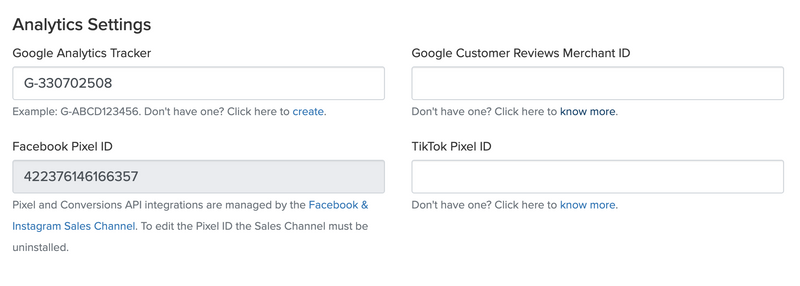
Google Analytics Tracker: To use Google Analytics to measure activity on your store, input your Google Analytics tracker ID here.
Facebook Pixel ID: You can add your Facebook Pixel ID, or click on the Create button if you don’t have one. This can also be set up if you install the Facebook Sales Channel on your Online Store.
Google Customer Reviews Merchant ID: In order to enable Google Customer Reviews for your store you must first link it to your Google Merchant Account.
TikTok Pixel ID: If you use TikTok you can add your pixel ID to share events, measure traffic on your website and create more impactful content.
Customer Login: Decide if your store should have login Disabled, Optional or Required.

Multipass Token: The Multipass authentication strategy available with your Jumpseller store allows you to connect customers of your applications with your Jumpseller store, through an easy-to-use system.
Currency: In this section, you can change the default currency that was set based on your location at the time of store creation. You can also enable the Additional Currencies feature from here.
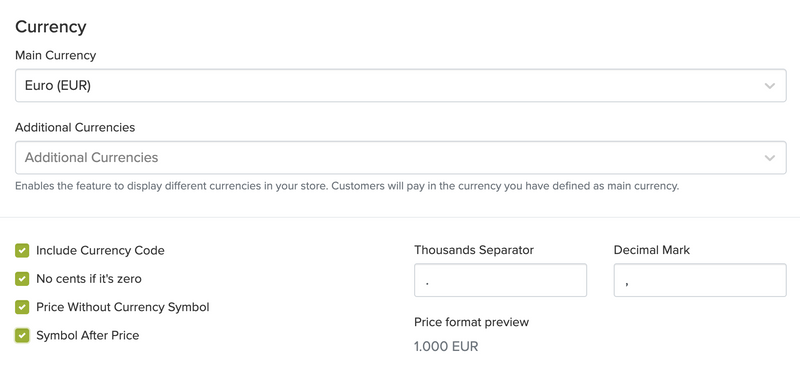
Currency Formating: Configure the format in which the currency will appear and preview the Price format.
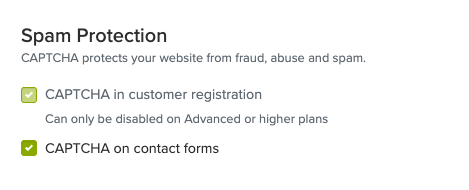
In this section, you can activate the use of hCaptcha for your store’s contact and customer registration. This ensures that new store accounts and contacts are from real people and reduces the amount of spam you receive.
Only Advanced or higher plans can disable the use of Captcha in customers registration.
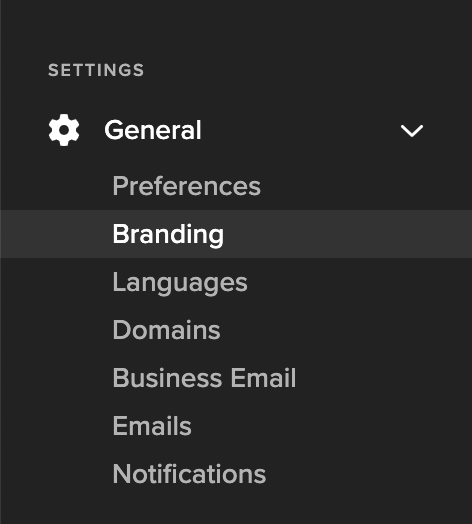
From the side menu, go to General > Branding. This is the section where you set the color tone of your brand. What you set here will be applied across various sections of your website. Including Checkout, Product Reviews and Store emails.
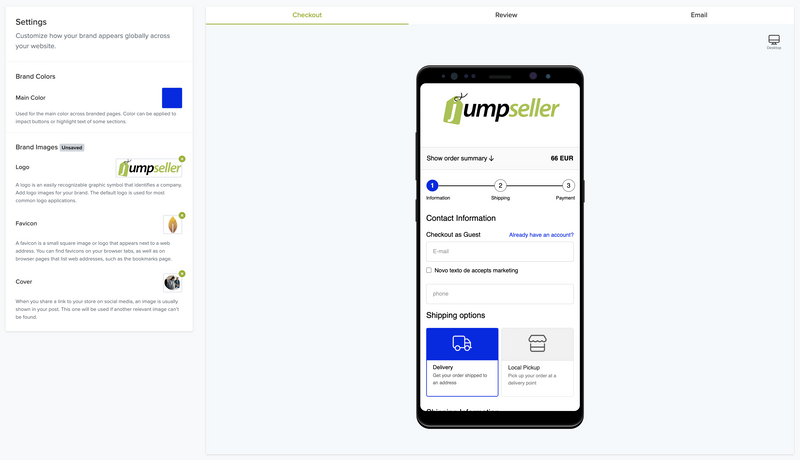
Logo: A logo is an easily recognizable graphic symbol that identifies a company. Add logo images for your brand. The default logo is used for most common logo applications.
Favicon: It is an icon that page visitors will see next to your page name in their browsers. There is no defined standard across all browsers for this, some might work in Firefox but not in Chrome. So to make sure your favicon displays in all browsers, follow these instructions:
48px square, for example: 48px*48px, 96px*96px, 144px*144px and so on.Cover: When you share a link to your website for example on Facebook or LinkedIn, an image is usually shown in your post. This one will be used if another relevant image can’t be found.
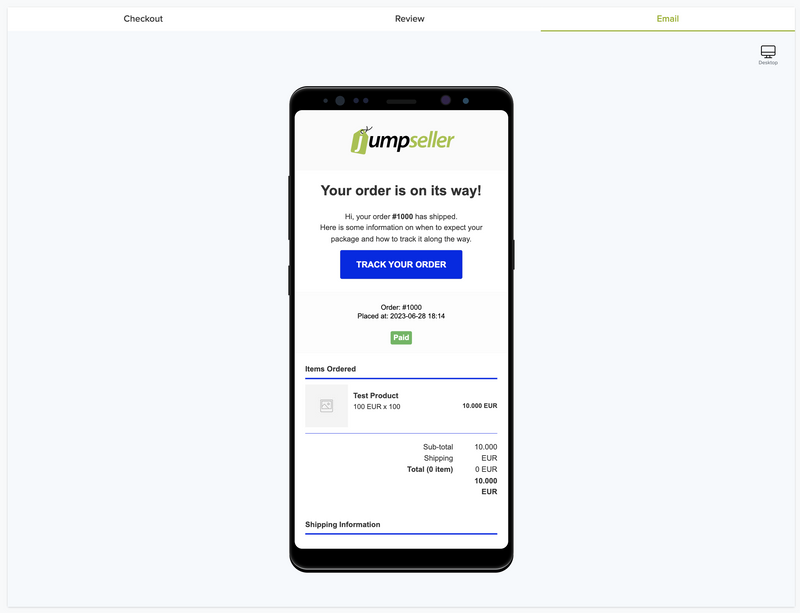
You can switch between, mobile and desktop views for previews. To switch to the desktop view, click on the screen icon located towards the top right corner of the preview box.
![]()
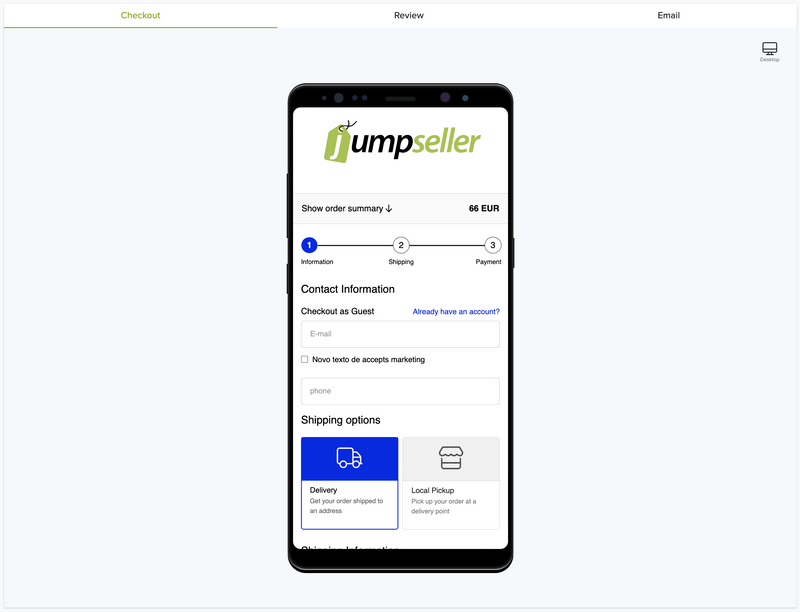
Checkout: A preview of how the checkout for your store will appear to a user.
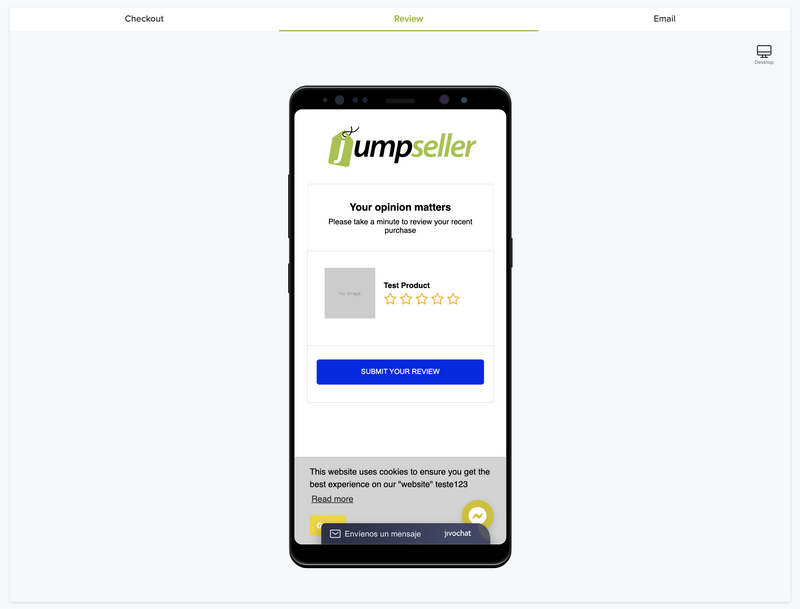
Product Reviews: If the product review feature is enabled for your store, this is how it will appear to a user.
Emails: The emails enabled for your store will be branded with the main color you set here.
If you have any questions about this or any other topic, please don’t hesitate to contact us.
Free trial for 14 days. No credit card required.