How to Setup Taxes for Your Online Store
Configuring Taxes can be a very confusing phase of setting up a business online. There can be different requirements for Taxes based on many variab...
Having the correct shipping configuration can be a very important factor when it comes to the success or failure of your online business. In this article, we will take you through the steps of how you can correctly configure shipping and shipping rates.
To start configuring the shipping methods of your store, in your Admin Panel, go to Checkout > Shipping from the left side menu.

In this section, you can select the shipping options you wish to have for your customers at checkout. You can have one or several at the same time.
This method adds $0 to the order value for shipping. You must take into account that if you want to limit this type of shipping to certain places you must follow the following steps:
For more information about shipping zones, click here: How to configure shipping zones in your online store.

It is the simplest method because there are no calculations or variations. For example, all products shipped to the US They have the same rate: USD $ 50.

You can set up two different types of rates: a fixed amount per product (for example, USD $ 50) or a defined percentage of the price of the product (for example, 2%). This type of shipping method is often used in stores that ship only to a specific region or country where shipping costs are almost the same on all shipments.
You can also include a Free Shipping option based on either; a Minimum Purchase Amount or Minimum Number of Products.

This method adds $0 to the order value for shipping, because it is assumed that the customer will pay the shipping cost at the time of delivery. It works like free shipping method, however it will not show a $0 cost in the checkout process, it will show a message instead.
You can add shipping methods from shipping rates aggregators by creating an External shipping method. Submit a callback url to retrieve shipping rates from your shipping rates aggregator and an url to retrieve a list of available services to use on your Jumpseller store.

You can click on the Fetch Services button to get the list of services available so that you can activate the ones you want in your store.

By using this method, you can set different prices per country (and regions within that country, for example, Texas, in the US).

The prices of subtables can be based on one of the following four parameters:
This rate table, in turn, can be divided into subtables, with different parameters and prices for regions and / or countries.

You can also include a Free Shipping option based on either; a Minimum Purchase Amount or Minimum Number of Products.

Using this method, you can have different shipping scenarios. Let’s imagine:
In this case, all selected locations handle the same price ranges. For example:
You can have specific subtables for different countries or locations. First, click on Add New Shipping Table.
You can then add Countries, which include all regions, or direct these shipping rules to specific Regions in each country.
Important: Any regions not specified, the rates will be taken from the “Other Locations”. You must take this into account, if any country or region is not previously considered and this table also has no values other than 0, then you run the risk of not charging for shipping to those locations.

It is now possible to assign shipping methods to a set of countries, cities or locations. For example, if you have 2 shipping methods and 1 is only used in the capital city and the other is used for the rest of the country, then it is possible to assign respectively the shipping for more efficiency in the checkout process. To learn how to configure a shipping zone please read the documentation: Shipping zones
Another way to fulfill your orders is by enabling Locations.
If you are selling locally, you also have the option to enable local pickup for your store. A store can have multiple pickup locations.
You can set specific pickup instructions like how long will the Pickup Place have the order available.

To offer the in-store pickup option to your customers, you must use our V2 checkout.
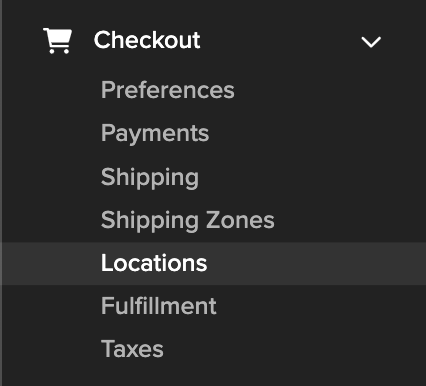
Add a physical location inside the Checkout > Locations menu following the instructions in our support guide.
This way, the system will add the in-store pickup option automatically in your checkout page, as shown in this image:

Product Shipping Profiles allow you to configure shipping methods that are displayed only for specific product categories. This feature provides greater flexibility in managing shipping rates and methods tailored to your product types.
The merchant has two shipping methods:
To ensure your Product Shipping Profiles work as expected:
If you have further questions, reach out to our Support Team.
If you need more help, write to our support.
Start your free 7-day trial. No credit card required.