Well-produced, engaging, professional-quality photos are a must for any successful ecommerce business. But how can you get those perfect shots for every one of your products?
This product photography guide will walk you through the equipment, setup, and best practices to get high-quality product photos.
Camera
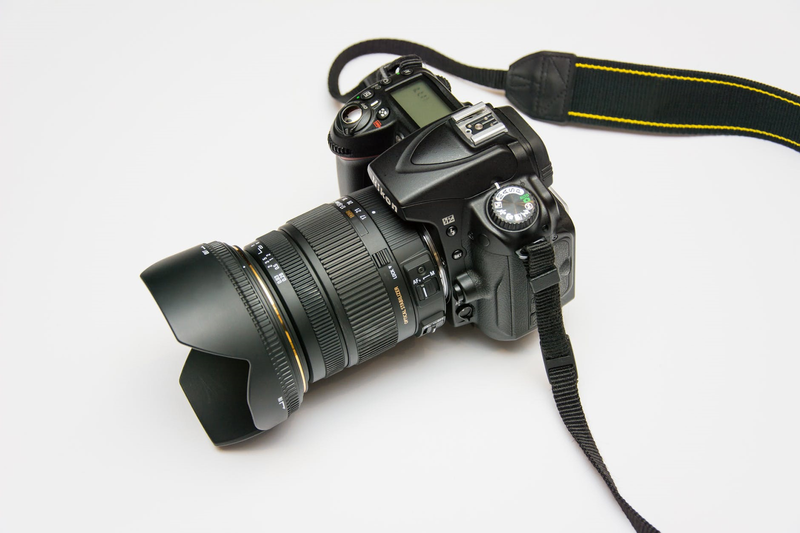
The camera is the first in a series of decisions to make for your photoshoot. To make your photos look as professional as possible, you need to use a quality camera. Take a look at the pros and cons of different options below:
- Digital Single-Lens Reflex (DSLR)
Pros: Highest quality, sharp photos, high degree of control in manual mode, interchangeable lenses Cons: Expensive, take time to learn how to use properly
- Mirrorless interchangeable-lens camera (MILC)
Pros: Less expensive than DSLR, interchangeable lenses, similar quality to DSLR, less bulky Cons: Still require practice to learn how to use, more expensive than using your smartphone
- Smartphone
Pros: Easily available without having to buy something new, can still produce high-quality photos Cons: Less control of settings
Once you decide on your camera, make sure to purchase a compatible tripod. You’ll be taking close-up photos of your products, and any slight shake of the camera will cause blurriness.
Background
You should have a smooth and neutral white background. A white background is best because it makes your products stand out, is applicable to external sites such as Amazon, and is easy to edit and remove afterwards.
You’ll have plenty of time later to get creative with backgrounds for social media or email marketing photos. For now, stick with the fundamentals.
Throughout your photoshoot, make sure to record each step you take, from the background and lighting setup to your product staging, photo angles, camera settings, and editing process. Consistency–including using the same background–makes your products look much better when shown together, such as in a category page.
Ultimately, your customers should only be paying attention to your product in the photo. That’s why it’s a good idea to use a white sweep: a piece of paper or flexible poster board that bends behind your product, providing a nice, neutral background without showing shadows where the wall meets the floor or table.
You should have a smooth and neutral background (for example white) so your product stands out in the picture and that is all customers should pay attention to.
It is also important to use the same background every time so you have consistency among your photos and they will look much better when shown together (e.g. in a category page).

To remove backgrounds from images, try remove.bg
Lighting
Lighting is crucial in photos. First, decide whether you will use natural light or artificial light. If you are a beginning photographer or have a limited budget, go for natural light, as it’s the easiest to use and readily available.
If you’d like more control and consistency with lighting, opt for artificial light. Whichever you choose, make sure to optimize your set-up to reduce and ideally eliminate shadows.
- Natural Light To use natural light, find a room with a large window, ideally close to a wall, so you’ll have a place to set up your background. Then, place your product so that the light hits it from one side.
Remember, you don’t want direct sunlight, as it creates dark shadows. Early morning or late afternoon just before the sun sets can provide nice, soft light. If the light is still too bright, cover the window with a diffuser: a thin sheet or piece of paper. Plus, turn off all other lights in the room.
Once you have natural light illuminating your product from one side, place a reflector–a white piece of foam board–vertically to the other side of your product to reflect some of the light back and get rid of shadows.
- Artificial Light If you decide to use artificial light, you won’t have to worry about the time of day for your photoshoot, but you will need to take some extra steps in set-up.
To use artificial light, you should have at least two light sources, and ideally three. You can buy two softbox lights for about $50. These lights are set within boxes that direct and soften the light from the bulb.
Just like before, put one light to one side of your product. This time, you won’t need a reflector on the other side. Instead, put your second softbox light on the other side of the product.
If you have a third softbox light, place it behind your product, at a higher level than the other two lights, above your background sweep.

If your product is small, you can purchase or DIY a lightbox, also called a light tent. A lightbox has translucent sides which soften light from around it. One side of the box is open to your camera. Lightboxes can provide consistent lighting and background, with few to no shadows.
Photo Tips
Now that you have the basic equipment for your photos and have completed the initial set-up, you should know how to take the perfect shot. Because photos are the most important elements in an e-commerce product page, you should show users more than one photo.
Aim for at least four to five photos, but be open to posting many more, if they are relevant.
First, make sure your product looks excellent. For clothes, that means no wrinkles. For other products, remove any dust with an air-based dust blaster or use a wipe, if it won’t leave streaks.
Certain products require special attention when staging. For example, clothes and jewelry typically take the most fore-thought. If you have the budget to hire a model, go for it!
Other options for clothes include dressing a mannequin, using hangers, or laying the clothes flat. Using mannequins is highly recommended because they provide shape. You can always edit out the mannequin later using the “ghost mannequin” technique.
For jewelry, you can use a bust, hang the piece using fishing line (easily removed in editing later), or lay it flat.
Next, once your product is ready, capture shots from all different angles, including close-ups for details. If you have the bandwidth, make a video or create a 360° photo.
Although this might require a separate photoshoot, aim to include at least one “lifestyle” photo of the product in use.
Camera Settings
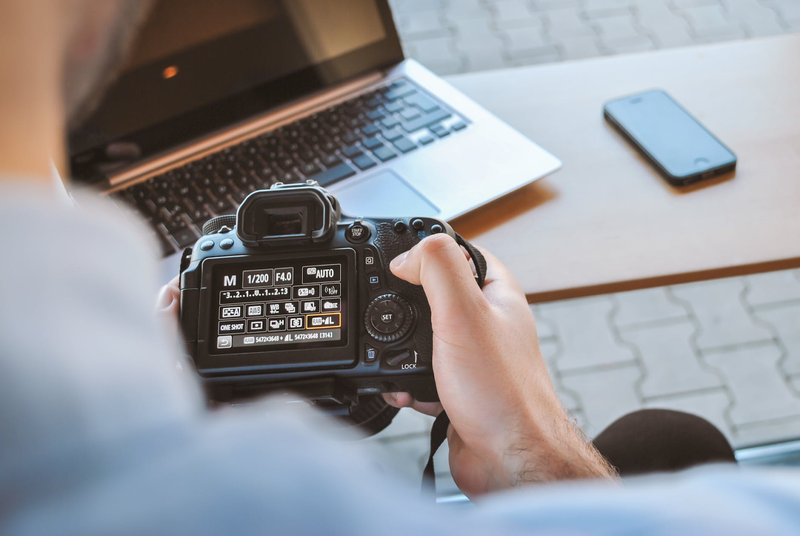
Most modern cameras–including smartphones–do a good job in automatic mode, adjusting settings based on the amount of light in the room. However, you may want to switch to manual mode to have more control and achieve the best results.
To get the best possible product photos, use a small aperture (high f/stop) and a slow shutter speed. The small aperture will result in a large depth of field, which means everything in your photo will be in focus.
The slow shutter speed will let plenty of light into your camera, also known as high exposure. The combination of small aperture and slow shutter speed will let your customers see all the details of your product.
A couple more camera setting tips:
-
Use the largest possible file size and highest quality when taking the photo–RAW file type, if your camera supports it. You can always adjust down in the editing phase, but you can’t increase the sharpness of a photo once it’s already taken.
-
You most likely won’t need to zoom in. If you do, always go for optical zoom, not digital zoom. Digital zoom will lower the quality of the image.
If this is your first time taking professional-quality photos, take the time to learn about how your camera works and play around with settings like aperture and shutter speed to see how they influence the final photo. Even if you’re taking photos with your smartphone, dive into the settings to discover how they can help you get that perfect shot.
Editing
Even if you have professional equipment and photography experience, most pictures still need a little editing. For example, it’s often necessary to remove the background, crop the photo, make sure the colors in the photo match the product in real life, and remove any mannequins.
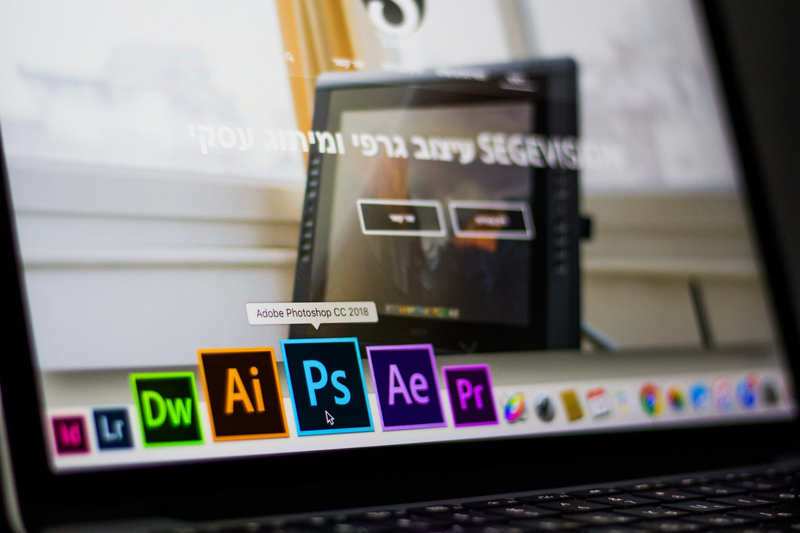
To remove backgrounds from images, try the website Remove.bg. Or, you can edit out the background with Adobe Photoshop’s Pen Tool.
On the topic of cropping, the final product photo should be square, with the product centered in the middle. That way, your photos look consistent when displayed together on a product page. Plus, the photo won’t get distorted on mobile devices. In technical terms, a square photo has an aspect ratio of 1:1, where the height and the width of the image are the same.
You can make these edits and more with photo editing software such as Adobe Photoshop, Adobe Lightroom, Pixelmator, Pixlr, GIMP, Picasa, Fotor, and many, many more. If you don’t have experience with photo editing and find yourself strapped for time, you can also hire outside photo editing services.
Once you have the final photo as you want it, it’s time to upload it to your website. Save the image as a jpeg file. Then, resize the image to fit the pixel space it will take on your website.
While large file size is ideal for capturing details when taking the photo, it’s a whole different ball game when uploading image files to your website. You want sharp enough images to display your product well, but small enough file sizes so that the images load quickly. Slow web page load times are bad for user experience and SEO.
Conclusion
A lot can go into a product photoshoot, and you can make it as simple or as complex as you want, depending on your available time and budget.
However you decide to photograph your products, be consistent and pay attention to the details. Get to know your camera and other equipment, set up your photoshoot carefully, and apply the finishing touch with editing. You’ll see how the effort is all worth it in the end when your fantastic product photos attract many more customers and help to grow your ecommerce business.


