How To Manage Your Product Options
The Inventory Management is usually one of the most complex activities when you are managing an online store. One of the features available on Jump...
Grouping your products by categories is a very convenient strategy in order to create a better browsing experience for your customers, allowing them to easily find what they want to buy.
You can use descriptive attributes of products to group them by categories.
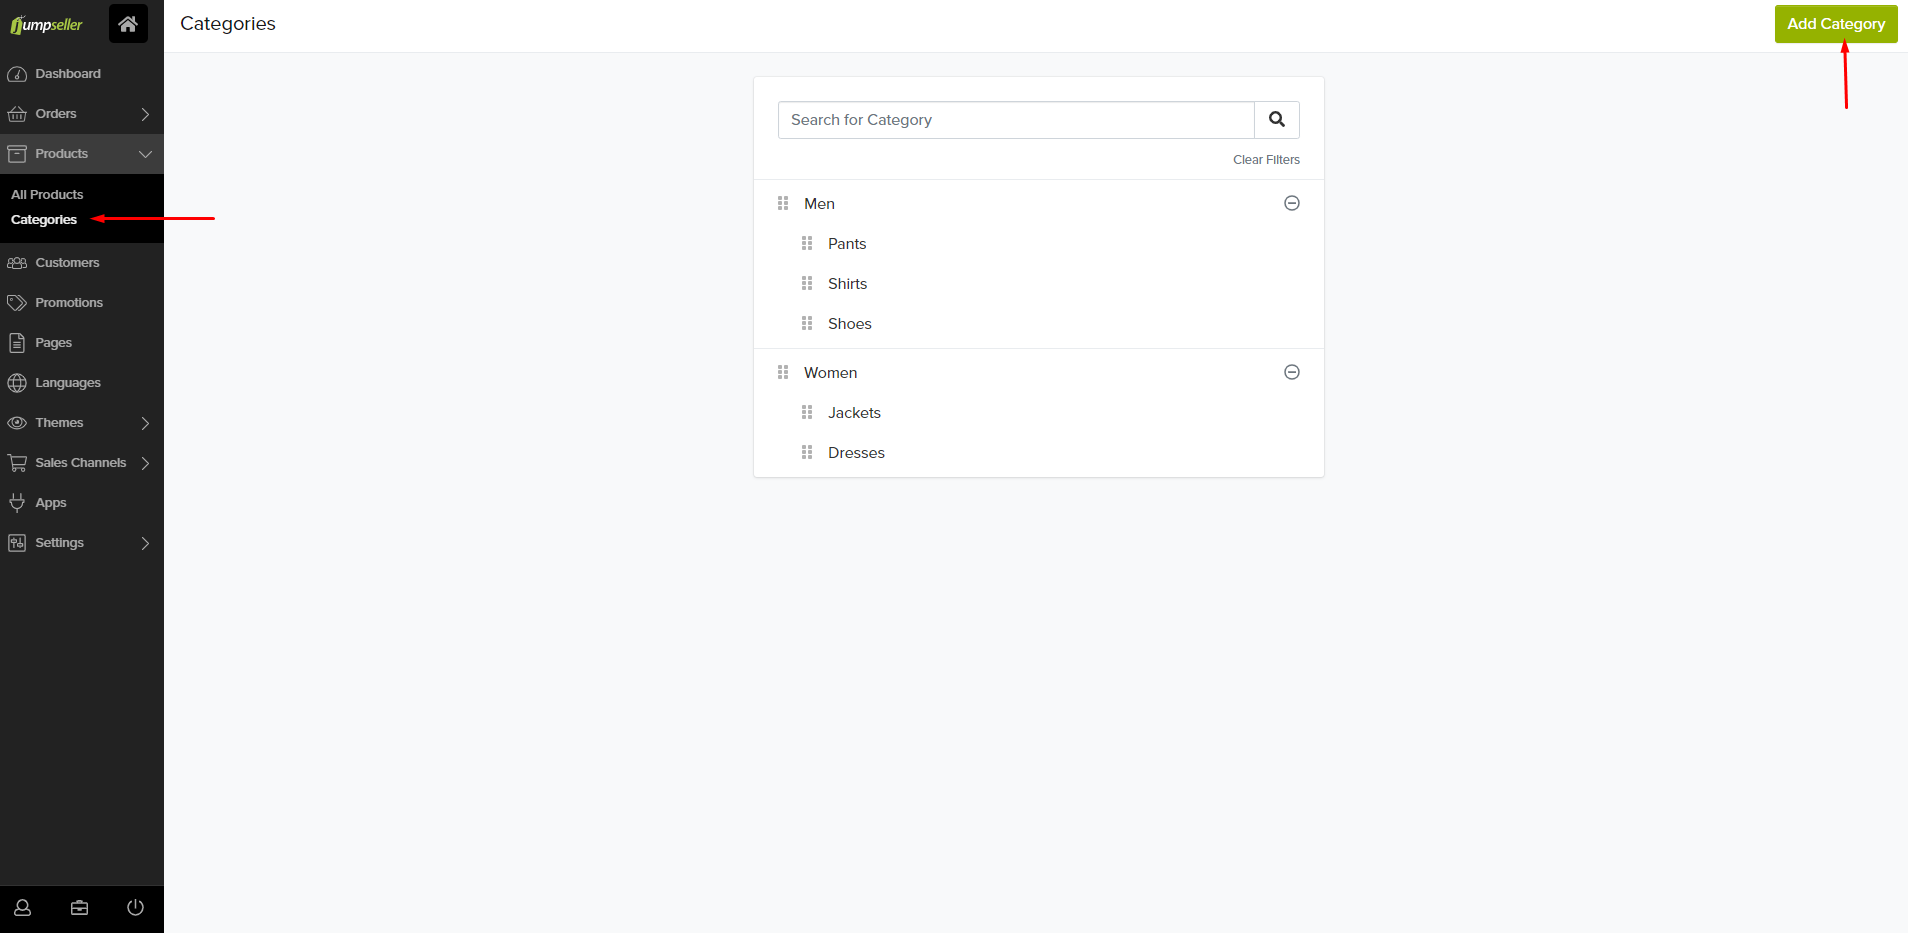
If you sell clothes, you could create “Men” “Women” categories and subcategories also within each of them.
For the category “Men” you could create the subcategories “Pants”, “Shirts” and for the category “Women” the subcategories could be “Skirts”, “Dresses”, “Blouses”.
You can create categories for:
To create categories go to the Admin Panel > Products > Categories > Add Category

Add a category name and descripction. The description is not used in all themes; might be used in the meta description if you don’t set one.
To add an image to the page of a particular category, you can upload one when you scroll down to the Image Section:

The category image is used in most of the themes and shows on top of the category page. It does not shows in Megami, Industrial nor Boostrap theme.
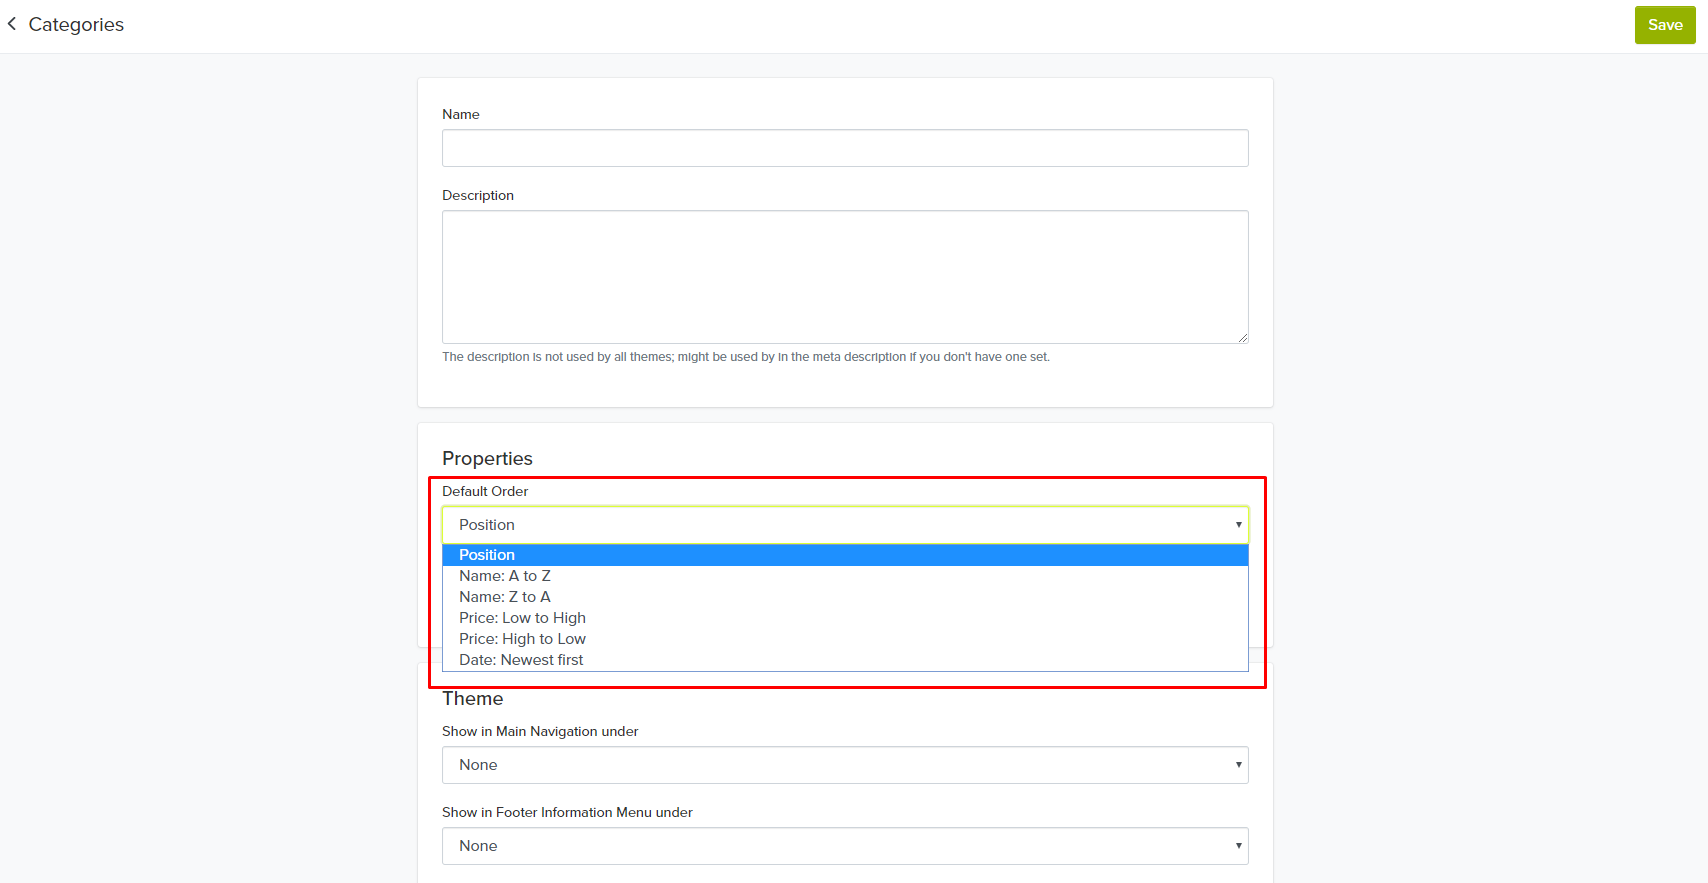
Assign a Default Order to show products in that category.

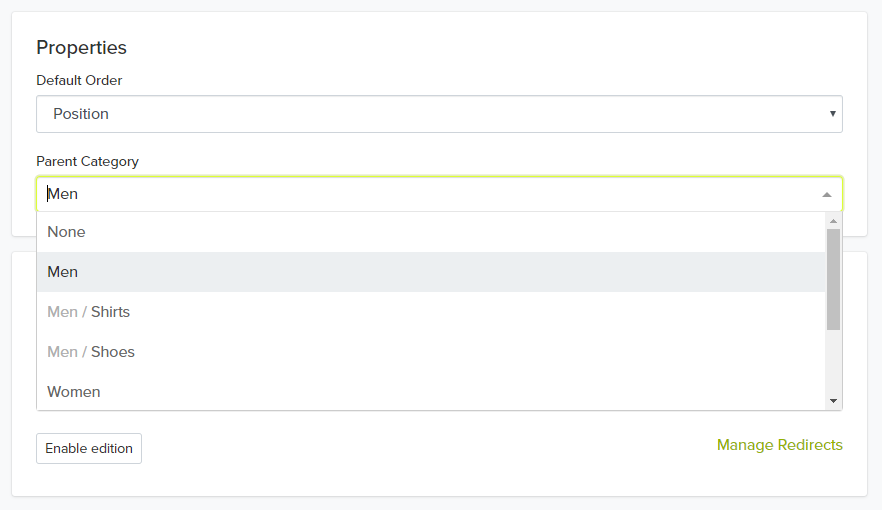
You can also assign a Parent Category to a new category. Parent category must be previously created to show on list.

Important: Creating categories does not add them to the store navigation menu. You will need to add them manually.
Once you have defined your categories, add each one to the navigation menu of your store.
You do this in your Admin Panel > Theme > Navigation.
You can reorder categories in the navigation menu by dragging them into the desired position.
To make a category a subcategory of another one in the navigation menu, just drag it under the main category and move it to the right.
Learn more about how to set up the main navigation menu of your store.
If you select the default order named Position, products will show in the category page as they appear in product list page. You can change the products position by dragging them in the products list page:
If you have products created before creating a new category, you will need to add the new category to the products. Instead of doing this one by one, you can do add a category to multiple products in the products list page:
Some theme elements like banners, buttons and images can be linked to a specific category page. In order to do this you will need the category permalink.
To get the category permalink, go to your Admin Panel > Products > Categories, and select the category you want to link the element to.
Once inside the category page, scroll down to the “Search Engine Optimization” where you can get the category’s permalik. Then, by typing that permalink in the theme option of the element, you will get it connected to the category page.

If you need any further assistance, feel free to contact us.
Start your free 7-day trial. No credit card required.